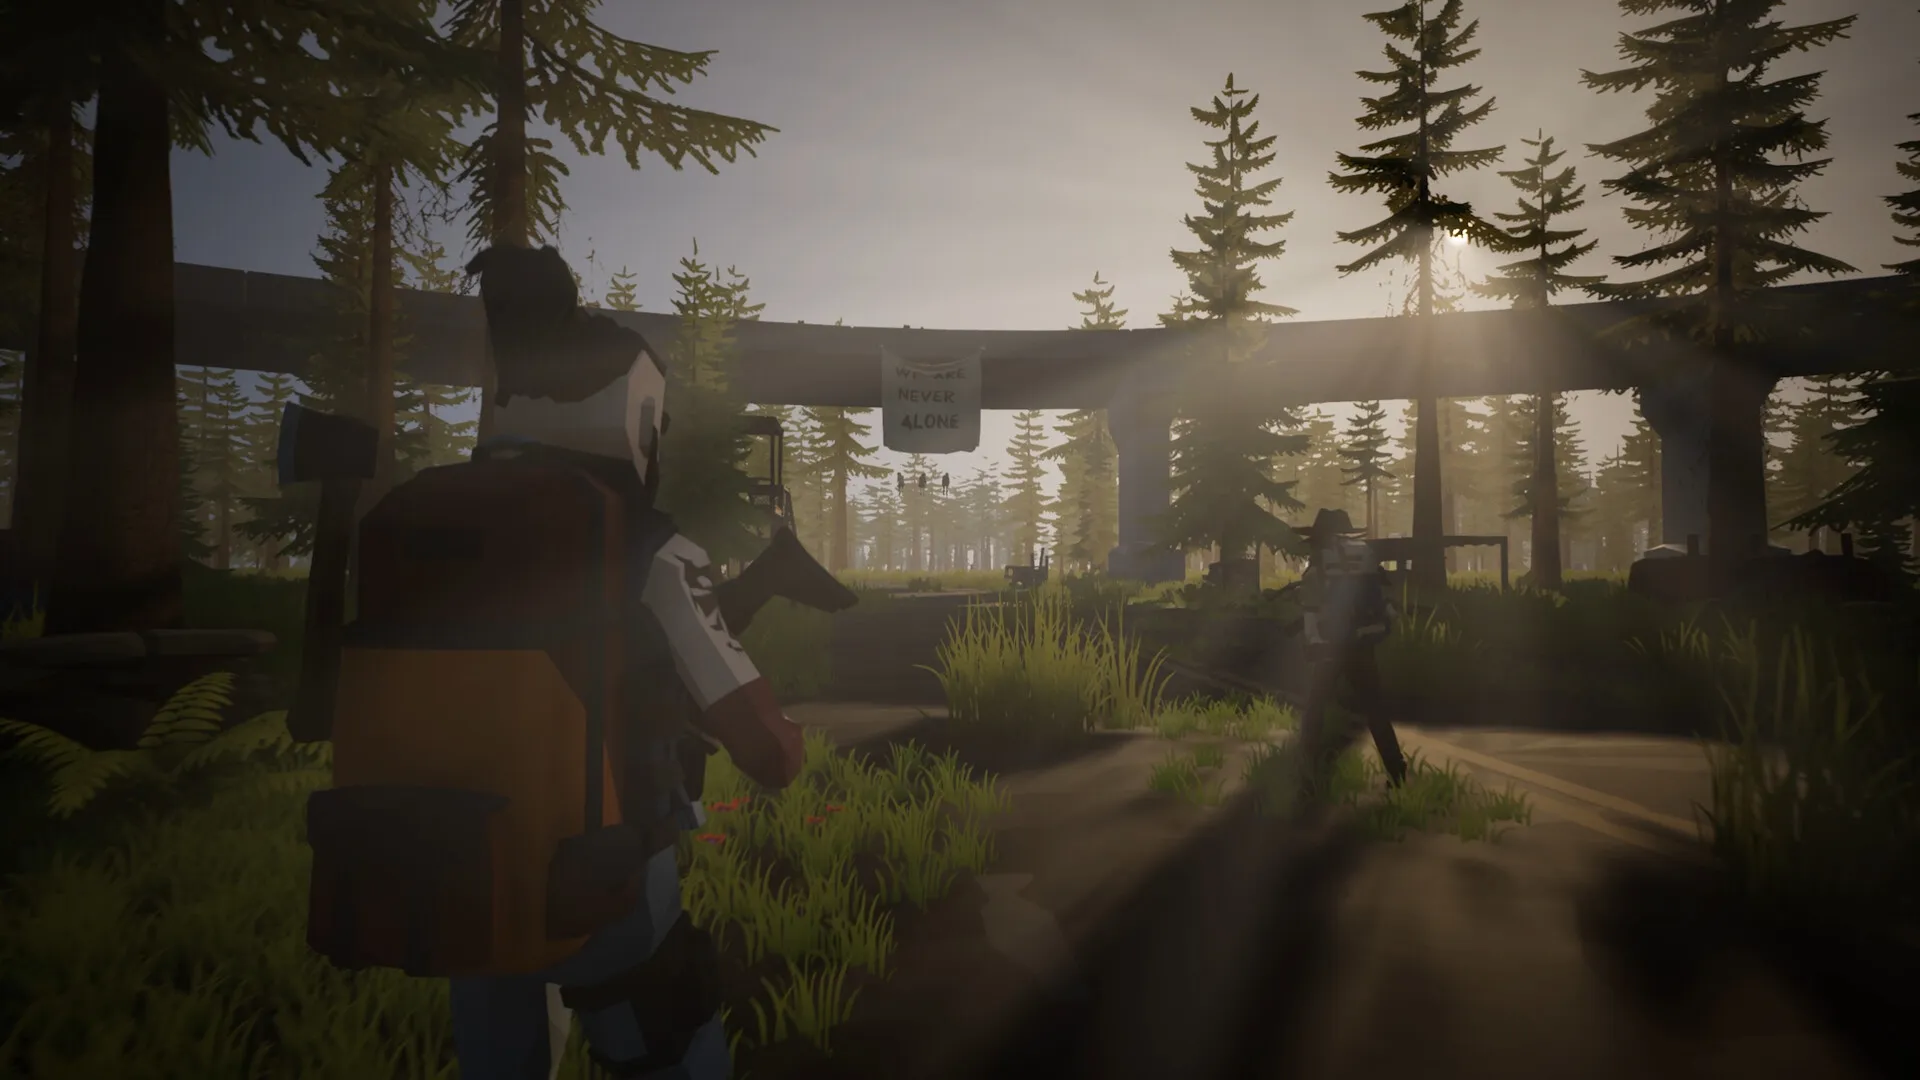
Key facts
- The demo opens with ten missions on one island, with two major story outcomes.
- Demo Update #1 moved darkness to roughly 9 PM, giving you more usable daylight.
- The safezone is established when you arrive; you extend it rather than founding a base from nothing.
- Gunfire, generators, vehicles, and doors all create attention. The knife and bow exist for a reason.
You wake in a safezone you did not build, surrounded by people who already live there, with no memory of who you are. That is the premise, and it is also the correct way to start playing: you are a new pair of hands in an established place, not a lone hero with an empty field.
The demo gives you ten opening missions and one island. It does not give you a tutorial that explains every system before the first infected arrives. This guide covers the decisions that matter in the first few hours without inventing numbers the game has not published.
Before you move: settings, camera, and character
The developer’s own launch advice is to spend a moment in Settings > Gameplay before starting. The demo includes toggles and sliders for different survival systems, so you can make hunger, thirst, and related pressures more or less severe without installing a mod.
Two practical fixes are worth knowing:
- Third-person camera inside the character. A rare first-launch bug can put the camera inside your survivor. Move the FOV slider by 0.1 to correct it.
- Controller menus. Controller support is partial. Unreal Engine can occasionally read the bottom face button as a mouse click, so follow the button icons shown in the UI rather than assuming a console layout.
Character customization is cosmetic. Pick a silhouette you can read in third person, especially if you plan to play co-op, where you will spend a lot of time looking at your own back.
Read the room before you read the map
The HUD is deliberately sparse: a small arc of gauges in the corner, an ammo readout, a temperature line. Do not assume a guide knows what every arc means in your build. Learn the two or three indicators you actually act on — health, hunger or thirst pressure, and ammo — and ignore the rest until they matter.
The more important interface is the world:
- Smoke, lights, and tall silhouettes are landmarks. The water tower, the carnival wheel, and the bridge banner are easier to navigate by than a minimap you do not have.
- Roads are fast and exposed. Forest edges are slower and harder to track. Choose based on whether you are carrying loot home or looking for it.
- Buildings with hand-painted warnings are not decoration. They are the game telling you what is inside.
The first skill in Never Be Alone is not shooting. It is knowing which direction home is before you get distracted by a lootable shelf.
The first supply run: close, light, and short
Your first run should end before you are full, not after. The demo’s inventory pressure is real; creator footage repeatedly shows players looting past their capacity and then having to choose what to abandon in the open.
A route that works:
- Walk the safezone perimeter first. Learn the exits, the gate, the trader, and the storage. You will use them under pressure later.
- Take one nearby residential or roadside building. Residential interiors produce cloth, food, and small tools; garages and industrial clutter produce scrap and fuel-adjacent material.
- Break line of sight before looting. Clear the room you are in, then the doorway, then the next room. Do not loot with your back to an open door.
- Return while you still have daylight and stamina. The trip home is not the boring half of the run. It is where most bad decisions become fatal.
Do not drive to the far side of the island on your first trip. Vehicles are confirmed, but they are also loud, fuel-dependent, and easy to lose in a ditch or a radiation zone. A car is a supply-line decision, not a movement shortcut.
Noise is the real health bar
The official feature list says every shot creates noise and noise attracts attention. The demo makes that concrete. A gunshot pulls infected from outside your view; a running generator is a beacon; a vehicle engine announces the whole road.
Noise discipline is simple to state and hard to practice:
- Use a blade or bow for one isolated walker. Save firearms for a group, a Brute, or an emergency.
- Shoot from cover, then move. The shot has already told everything nearby where you were. Standing still to watch the result is how you get flanked.
- Do not run a generator beside your bed. Power is useful. A generator is also a machine that tells infected where the safezone is.
- A door is a tool. Closing it buys a second; slamming it also makes noise. Choose deliberately.
This is why suppressors, scopes, and weapon flashlights are more than cosmetic attachments. They change what the world knows about you.
What to build first
The demo starts you in a working safezone with storage, a trader, and mission givers. Your job is to extend it, not replace it.
A defensible order for the first hours:
- Storage. More space changes every subsequent decision.
- A workbench. It unlocks the tools that make gathering efficient.
- Water and food capacity. A base that cannot feed you is a warehouse.
- Fortification. Walls matter after you have something worth losing.
- Power. Generators and solar panels are valuable, but they are not day-one needs.
The full reasoning, material chain, and the noise trade-off are in the base building guide.
When to fight, and when to leave
You do not have to clear every POI. The game’s own pitch is about protecting what remains, not killing everything on the island.
- Walkers: fight the group, not the individual. Back into a doorway and keep one approach.
- Sprinters: do not backpedal across open ground. Find a wall or a vehicle and make it come to you.
- Ferals: get height or a straight approach. Do not trade hits with an erratic quadruped in tall grass.
- Exploders: never melee. Kill at range or leave.
- Brutes: avoid early. Since Demo Update #1, the Brute has three times its launch health. A fight you remember from launch day is not the current fight.
The detailed counters live in the infected survival guide and the threat board.
First-night checklist
Before darkness (now around 9 PM rather than 6 PM):
- You know the route back to the safezone.
- You have food and water for the next session.
- You have at least one bandage or healing item.
- Your weapon is loaded and you know what noise it makes.
- You have emptied your pockets into storage.
- You have a reason to go out again, and a reason to turn back.
Night is not automatically lethal. It is a visibility and information problem. The demo’s night streets are genuinely dark; a weapon light helps you see, but it also tells everything nearby where to look.
What not to trust yet
The demo does not publish damage numbers, spawn tables, loot tables, or a complete mission list. If a guide gives you an exact Brute health value, a Night Roarer weakness, or a “best weapon in the game” ranking, check whether it is describing the current build or repeating a launch-day impression.
The honest beginner strategy is smaller than the internet makes it sound: stay close, stay quiet, come home with more than you left with, and let the story tell you where to go next.
Last verified
2026-11-19
This guide combines official Beast Studios information with clearly labelled demo observations. Where the public record is empty, the page says so. See the editorial policy and the full source list.