Key facts
- The demo starts you inside an established safezone with storage, a trader, and mission givers.
- Official base systems include generators, solar panels, storage, fortifications, farming, hunting, and fishing.
- Power production reacts to time of day, weather, and cloud cover.
- Demo players report that generators create noise that attracts infected.
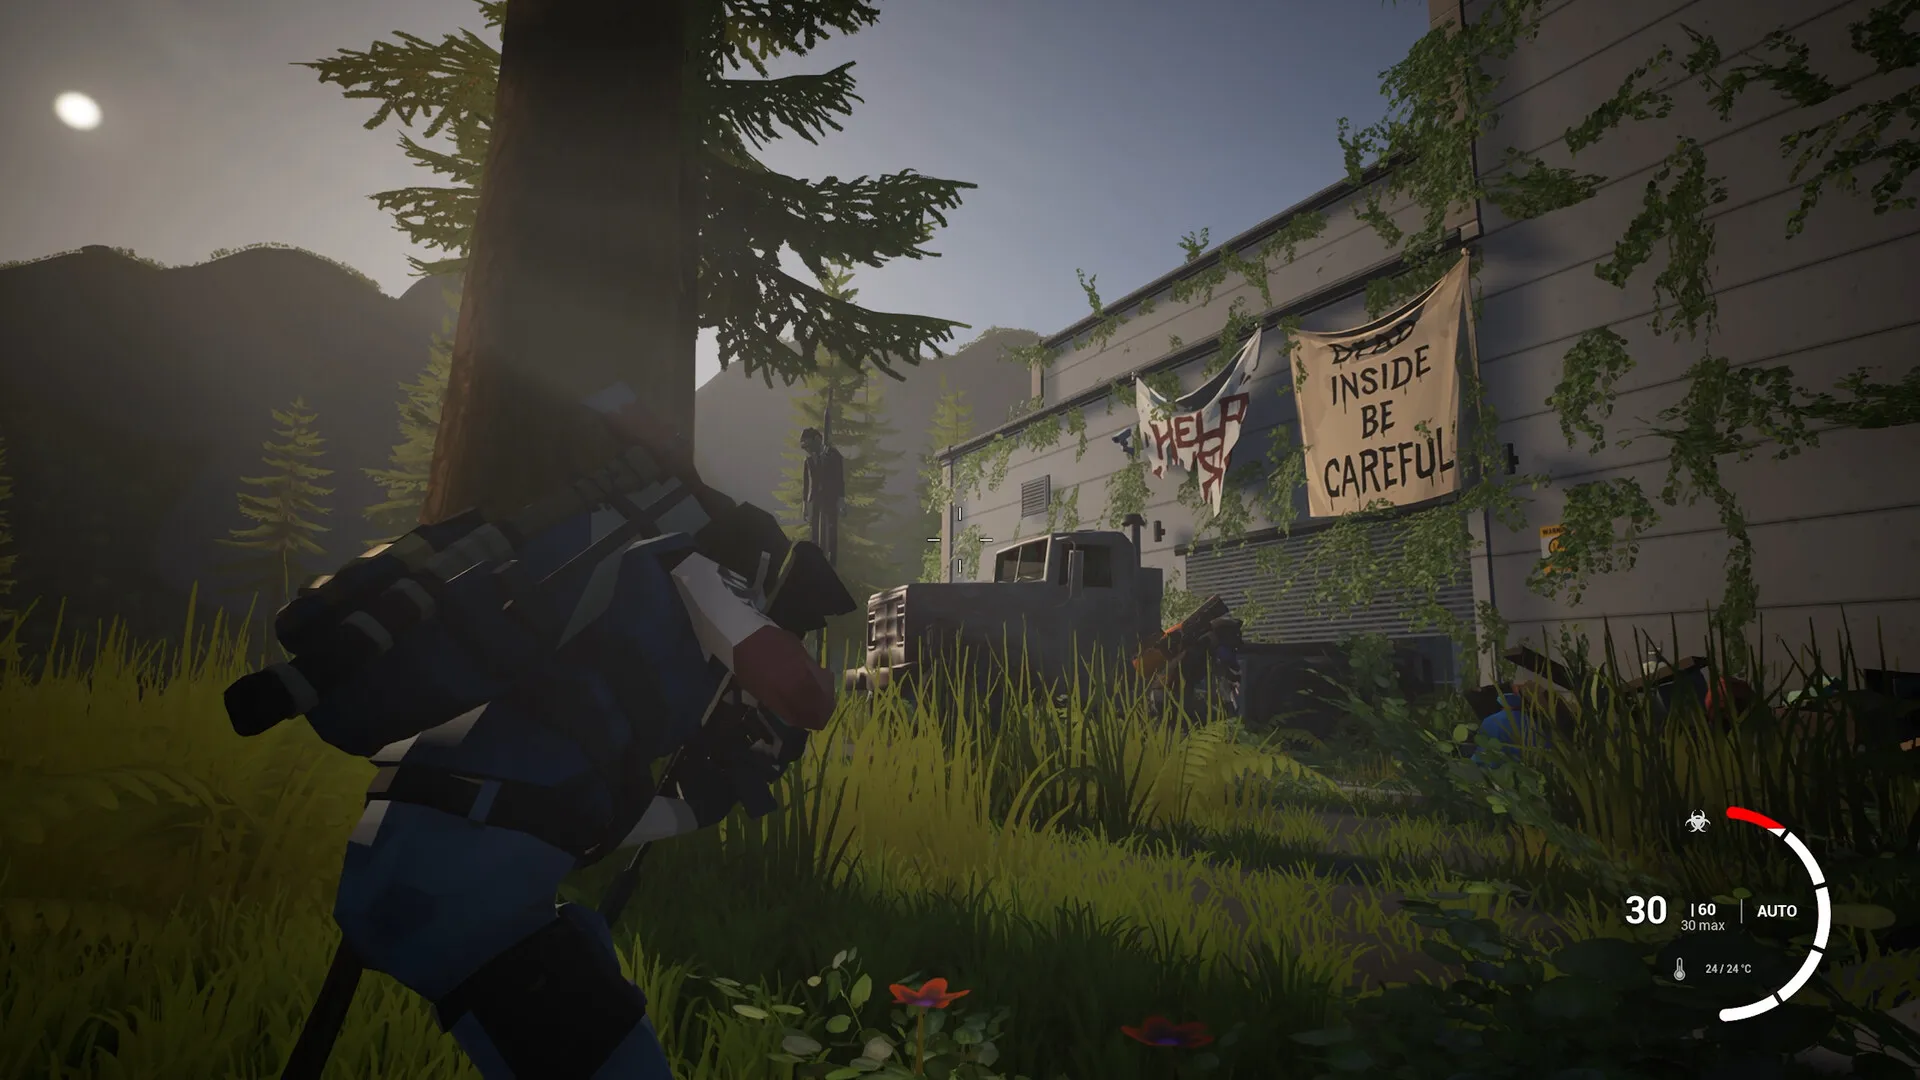
Base building in Never Be Alone does not begin with a blank field and a crafting menu. It begins with a settlement that already exists: a gate, survivors, a trader, storage, and a list of problems. You are not founding a town. You are trying to keep one alive.
That changes the first question. It is not “where should I build?” It is “what does this safezone need next, and what will that cost me in noise, time, and exposed trips?”
What the official record confirms
Beast Studios’ feature list names:
- Crafting and base building
- Generators and solar panels
- Storage and fortifications
- Farming, hunting, and fishing
- Power production that reacts dynamically to time of day, weather, and cloud cover
- Defenses and other survival systems
The demo description adds that the starting safezone is vulnerable, its supplies are limited, and every person must contribute. It does not publish a build menu, structure costs, or upgrade tiers. Those gaps matter; this guide marks what comes from the demo rather than pretending it is a blueprint.
What demo players actually see
Across demo footage and community reports, the following loop is consistent:
- Storage exists and can be expanded.
- A workbench is a buildable crafting station.
- A trader buys or sells at the safezone.
- Scrap metal is a core material, found in barrels, industrial sites, and wrecks.
- Nails are crafted from scrap and feed workbench-tier construction.
- Wood, planks, stone, and cloth appear in build and repair requirements.
- A pickaxe makes breaking scrap barrels practical.
- Generators make noise that attracts infected; doors and machinery are also heard.
Those are demo observations, not official balance data. Treat the chain as a route, not a spreadsheet.
The build order
1. Storage
Storage comes first because every other decision depends on what you can carry and keep. A player with more space can bring home the scrap, cloth, and food that make the next build possible. A player without it leaves useful material on the floor of a building they will never find again.
Build or expand storage before you build a monument to your intentions.
2. Workbench
The workbench is the multiplier. It turns raw material into the tools that gather more material. Demo players describe it as the gate to efficient gathering, including the pickaxe that makes barrels worth breaking.
If you are still breaking scrap barrels with a blade and skipping half of them, the workbench is the upgrade that changes the pace of the entire session.
3. Water and food capacity
The official feature list ties farming, food management, and the water supply to the safezone’s survival. A base that cannot feed its people is a warehouse with a flag.
Before you build walls, make sure the next session has water, food, and a plan for both. The farming and food guide covers the longer loop.
4. Fortification
Walls and barriers matter after you have something worth losing. Fortify storage and the routes between the gate, the workbench, and the sleeping area. Do not build an impressive shell around an empty interior.
The official text confirms fortifications; it does not publish structure health, raid behavior, or breach consequences. Assume defenses buy time rather than guarantee safety.
5. Power
Generators and solar panels are confirmed. Power is useful; power is also a commitment.
- A generator produces power and, according to demo reports, noise. A running generator is a beacon.
- A solar panel depends on time of day, weather, and cloud cover. It is quieter and less reliable.
- Placement is therefore a tactical choice: near the workbench for convenience, or away from the sleeping and storage areas for quiet.
Put power last because it is the system most likely to make your base more attractive to the thing you are hiding from.
The material chain, without invented numbers
| Material | Where it comes from | What it is for | Evidence |
|---|---|---|---|
| Scrap metal | Barrels, industrial sites, wrecks | Nails, building stock | Demo-observed |
| Nails | Crafted from scrap | Workbench-tier construction | Demo-observed |
| Wood and planks | Sheds, fences, lumber sites | Construction and repairs | Demo-observed |
| Stone | Roadsides and rocky ground | Construction | Demo-observed |
| Cloth | Bushes, clothing, interiors | Bandages, bow crafting | Demo-observed |
| Food and water | Looted, farmed, fished, hunted | Survival and safezone supply | Official systems |
No public source gives exact recipe quantities. If a guide lists “12 scrap + 4 nails” for a workbench, it is either describing a build the author tested or inventing precision. Ask which.
Placement is a noise decision
The safezone resolves the hardest question for you in the demo: it is already placed, already defended, and already connected to the story. If you extend outward later, the trade-off is:
- Closer to loot means shorter trips and more exposure to the roads and towns that produce loot.
- Farther from noise means quieter nights and longer, more dangerous supply runs.
A generator, a vehicle, and a slammed door all move the balance. Put the loud systems where you are willing to defend them, not where you sleep.
What is still unknown
The public record does not answer:
- Whether you can build a fully independent base far from the starting safezone in Early Access.
- Structure costs, upgrade tiers, and structural health.
- What happens when defenses are breached beyond infected entering.
- Farming yields, crop timing, and whether seasons change them.
- Whether co-op guests can build, or only the host.
Those are not small questions. They are the difference between a base-building game and a base-decorating one. This page will be updated when the Early Access build answers them.
A safezone is not a pile of walls. It is a route, a store, a water supply, and a reason for everyone to come back.
If you want a personalised order, use the safezone planner. It asks for your mode and priorities, then returns the next three tasks with the reasoning attached.
Last verified
2026-11-19
This guide combines official Beast Studios information with clearly labelled demo observations. Where the public record is empty, the page says so. See the editorial policy and the full source list.